Last week I was in a cooking funk. I just could not find anything that inspired me to get up out of my chair and create. I get like that sometimes, just completely "cooked out". But my brain works against me because I am still thinking boy I could really go for a piece of cake or a brownie or a ...(I suffer from an overactive sweet-tooth). It's a tug of war between my laziness and my cravings.
Well, my cravings (and that insistent sweet-tooth) won out and I ended up making something I have never made before, fudge. What's more it was a unintended adventure as I originally set out to make these coffee squares I had found in one of my many cookbooks.
The recipe looked good, a nice little square to have with a cup of coffee or tea, so I went ahead and started to make them. Half way through I notice the recipe calls for 3 ounces of vanilla fudge chopped (this is why most people read through a recipe before embarking on the "making it" part).
I stopped and thought, "well sh--, I don't have any fudge. Do I make them with out it?" Most rational people would say yes, but apparently I am not a rational person because all of a sudden I find myself at 8 o'clock at night whipping up a batch of fudge for the first time!
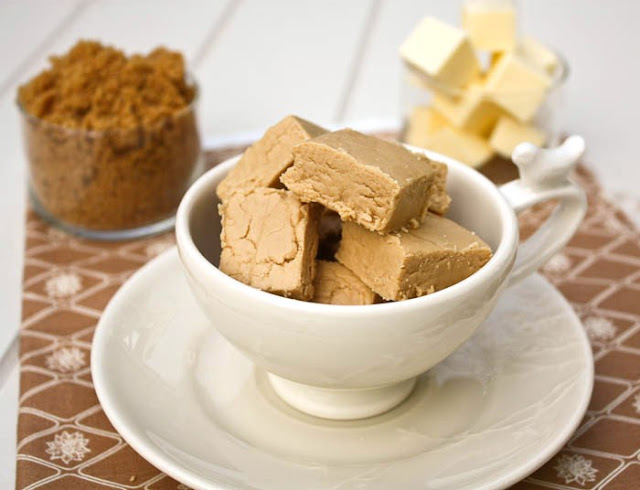
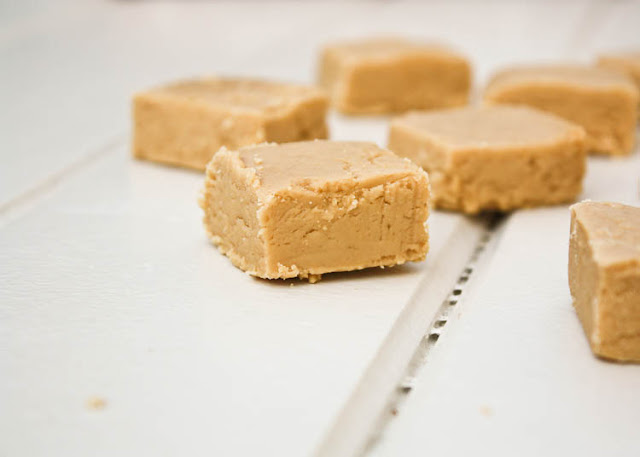
And the outcome? Well, I'll be honest it was not easy and at one point I thought I had ruined it by stirring for too long but in the end it came together beautifully. It was creamy and rich and had a lovely taffy flavour as I decided to make Penuche or Brown Sugar Fudge instead of the Vanilla Fudge the recipe called for.
And the squares? They were not great, WAY too sweet with the addition of the fudge, but I'm so glad I let my sweet-tooth talk me into getting out of my chair. I have always wanted to try making fudge, and now I have, quite unexpectedly and, hurray, successfully!
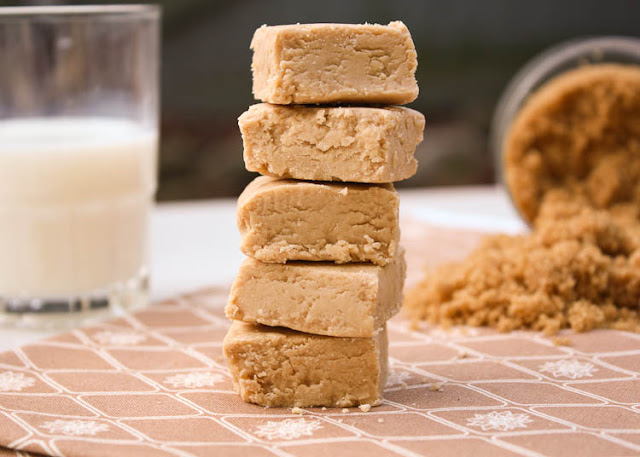
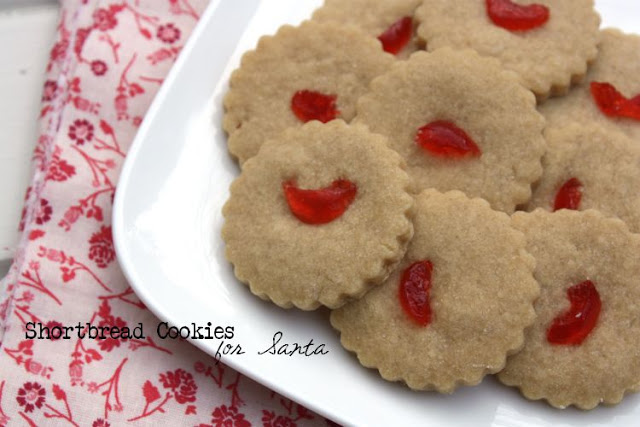
Penuche (Brown Sugar Fudge)
This recipe is adapted from the Better Homes and Gardens Cookbook
Prep time: 5 minutes
Cook time: 1 1/2 hours
Total time: 1 hour 45 minutes
Yield: 32 servings
Ingredients
- 1 1/2 cups sugar
- 1 cup packed brown sugar
- 1/3 cup half and half cream
- 1/3 cup milk
- 2 tablespoons butter
- 1 1/2 teaspoons vanilla
- pinch salt
Directions
- Line an 8 inch square baking pan with parchment paper. Generously butter the parchment and set aside.
- Butter the sides of a heavy 2 quart saucepan. Combine the sugars, cream, milk and pinch of salt. Cook and stir at medium heat until the sugars dissolve and the mixture begins to boil. Clip a candy thermometer to the side of the pan and reduce the temperature to medium low. Continue to cook and stir until the thermometer reads 236 degrees (soft ball stage). This takes about 15 - 20 minutes.
- Immediately remove from the heat but keep the thermometer clipped to the side. Add the butter and vanilla but DO NOT STIR.
- Leave the fudge to cool to 110 degrees, about 45 minutes to 1 hour. Remove the thermometer and beat vigorously with a wooden spoon (the mixture is quite thick) for about 10 minutes or just until it begins to lose its gloss. (this is where I made the mistake and beat it a little too long. It changes in an instant from smooth mixture to dry fudge, so be careful)
- Spread into the pan. Leave it until it is firm then cut into squares. Enjoy!