I am a little behind schedule. I was a bit ambitious when I promised the unveiling of my new project last week. What set me back most was the fact that my daughter had the second operation on her arm.
Back in November
she broke her arm and, as it was quite a bad break, she had to have pins inserted to set the bones. She had the pins removed last Thursday.
Everything went well and she is doing great but I was a bit of a wreck before the surgery, so I was not as productive as I would have liked. I think I set an ambitious date for the launch of my new site because I hoped it would distract me from worrying about the surgery. HA, no such luck.
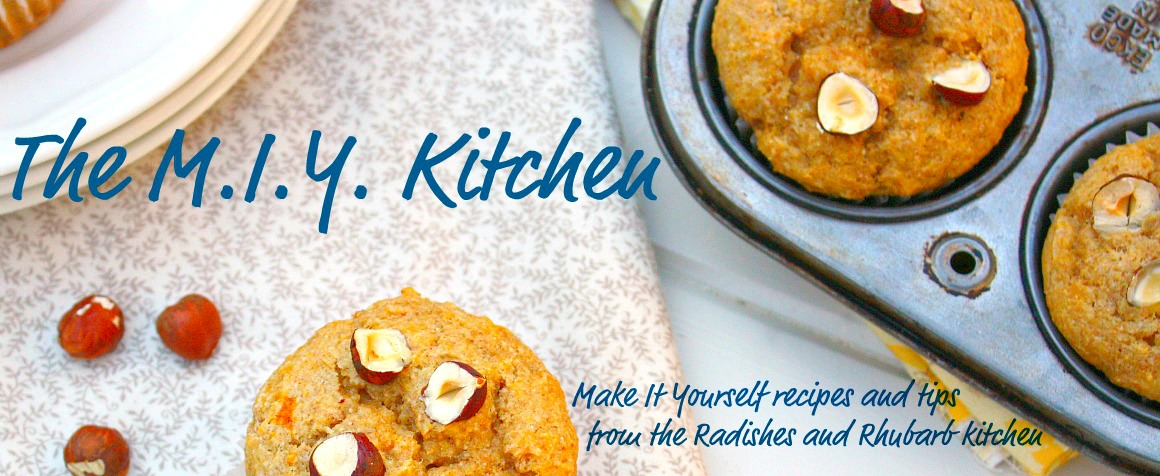
Well, things are good and it is over so now I am back in business! That means...ta da...I am officially launching
The MIY Kitchen!
And now you are saying, "Another cooking site, really?" Well, good point but I will tell you why.
My intention with The MIY Kitchen is for it to be a companion to the recipes and stories of Radishes and Rhubarb. This is a site for the basics and that means a couple of different things.
First, I want this site to be a resource centre of sorts. Under the various page headings you will find
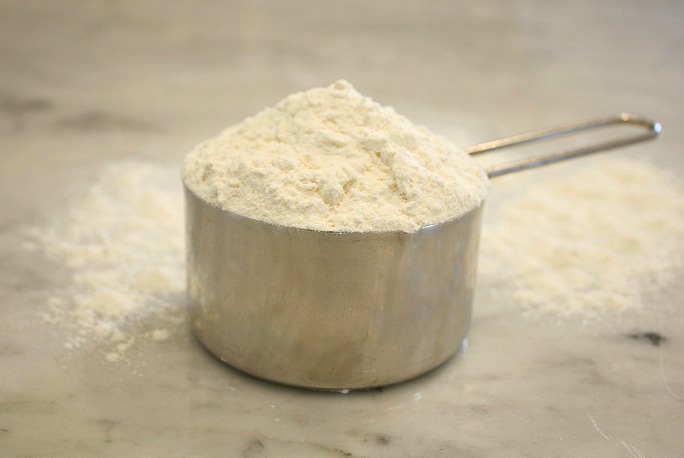
essential kitchen equipment and some of the basics of cooking and baking (such as
how to correctly measure out flour). Through conversations with my readers I began to see a need for back to basics instruction to accompany my recipes. My aim is to provide this information in a more methodical step-by-step manner with as many pictures as possible.
Second, this site is devoted to MIY projects. I am finding there is a strong resurgence of interest in making things such as preserves, condiments and other kitchen staples at home. I recently published Radishes and Rhubarb's
10 Most Popular Recipes and I was struck by how many were of a MIY nature.
Homemade jam,
homemade bread,
apple butter, items that can easily be purchased and yet more and more people seem to want to make these things for themselves.
Whether the reason is to economize, to be more healthy or for the challenge of it, I think this is a great trend and I want to provide recipes that will help those with a MIY spirit. Here you will find bread recipes, jam recipes and recipes for other everyday basics. They will be explained and, hopefully, made easy to follow with the same step-by-step approach.
As the site evolves I will add more adventurous MIY projects and even some MIY projects for the rest of the home.
So that is what I have been diligently working on for the last few weeks! I will be loading posts on The MIY Kitchen quite quickly for the next little while, so check back often. I am trying to get a lot of the basics in place so we can move on to more adventurous stuff, like making Ricotta Cheese!
Now for cake!
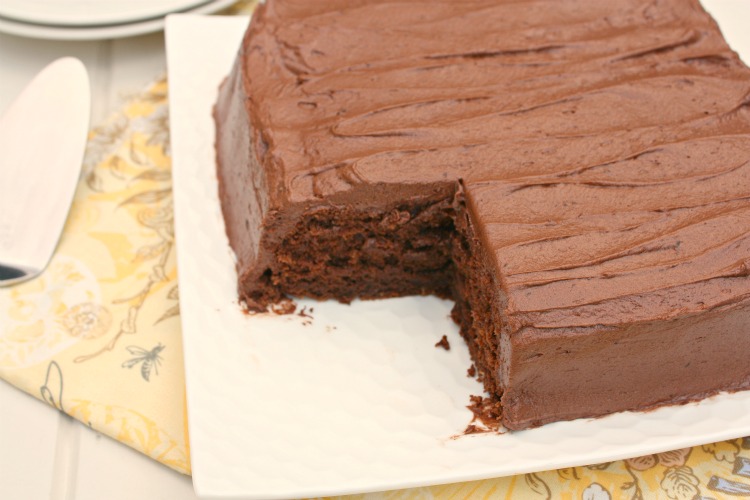
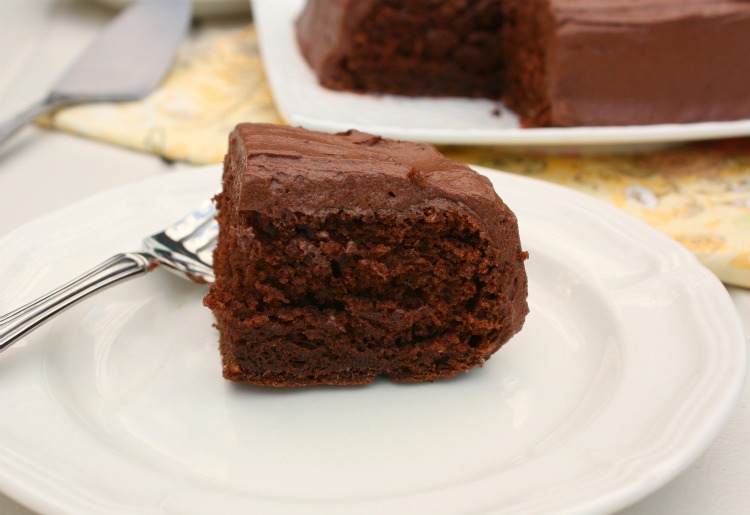
I know I have been doing a lot of baked goods and especially chocolate lately but this seems like a good recipe with Valentine's Day right around the corner. As well, this cake has a special place in my heart as it was the cake my mom often served when I was little. This was the quick little cake she would make as a treat during the week. It is called the Think Small Chocolate Cake.
I don't know where the recipe originally came from, (it is on a beat up little kitchen card) but it is a real gem of a cake. Small, as it's name suggests, but big on chocolate flavour, dense and moist. Make it for someone you love this Valentine's Day. They will thank you for it!
Think Small Chocolate Cake
Prep time: 15 minutes
Cook time: 30 minutes
Total time: 45 minutes
Yield: serves 9
Ingredients
- 3 ounces bittersweet chocolate, chopped
- 2 tablespoons vegetable oil
- 1 tablespoon butter
- 1 cup granulated sugar
- 1 egg
- 1 1/2 cups all purpose flour
- 1 teaspoon baking soda
- 1/4 teaspoon salt
- 1 cup buttermilk
- 1 teaspoon pure vanilla extract
Directions
- Preheat the oven to 350 degrees Fahrenheit. Grease and flour an 8 inch square pan.
- In a small saucepan over low heat melt together the chopped chocolate, oil and butter. Set aside.
- In a medium bowl or using your stand mixer, cream together the sugar and egg until light and fluffy, about 2 minutes. Add the vanilla extract and the oil, butter and chocolate mixture and stir until well combined.
- In a separate small bowl mix together the dry ingredients.
- Alternate adding the dry ingredients and the buttermilk to the chocolate mixture, starting and ending with the dry ingredients. Mix just until combined, do not over mix.
- Pour the batter into the prepared pan. Bake in the centre of the oven for 25 - 30 minutes or until a toothpick inserted near the centre of the cake comes out clean.
- Remove from oven and let rest on a cooling rack for 10 minutes. Loosen the edges of the cake and then turn out from the pan and leave to cool before icing.
- Frost with Chocolate Buttercream. Enjoy!

Chocolate Buttercream
Ingredients
1/2 cup room temperature butter
1/2 cup unsweetened cocoa powder
1 teaspoon vanilla extract
2 cups icing sugar
1-2 tablespoons milk
Directions
Using a hand beater or stand mixer, at low speed, cream together butter, cocoa powder, vanilla extract and icing sugar. The mixture will be stiff and dry and this point. Continuing at low speed add milk a tablespoon at a time until the frosting reaches the desired consistency. Turn your mixer onto high speed to make the frosting light and fluffy. Spread immediately over the top and sides of cake.